Tutorial: Turtlebot3 Demo Scene with ROS2 and Unity3D
Note
Prerequisites – The following is required for this tutorial
- Unity3D last stable version
- Docker and docker-compose
- ROS2 dependencies
- Сloned this repository unity_ros2.
The goal of this tutorial is to get the turtlebot3 sample scene up and running and to explore some of the features in unity_ros2.
Getting a Unity Project with ROS2 support
Navigate to ~/UnityRos2/Assets and run python3 start_editor.py. This script sets environment variables and starts the Unity Editor. Don’t use sudo. This is only way to start the Editor with ROS2 support at the moment. Opening the project through Unity Hub is not supported yet.

Unity should now look similar to the image above. (Depending on your layout settings for Unity).
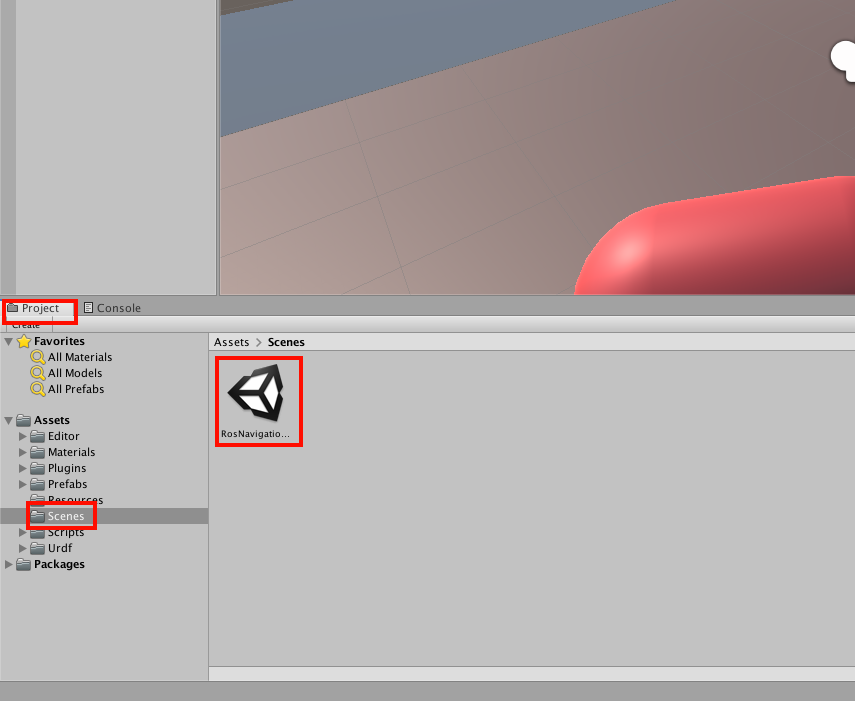
Double click on Turtlebot3NavigationDemo located under Assets/Scenes in the Project window.
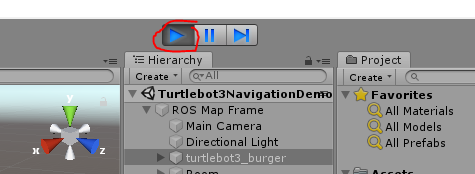
Press the Play button to start the simulation.
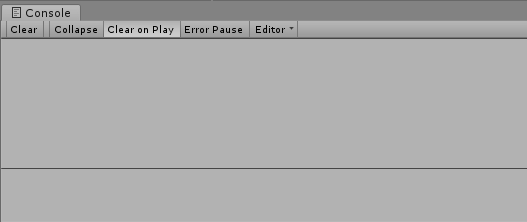
If everything is working, there should be no error messages in the Console.
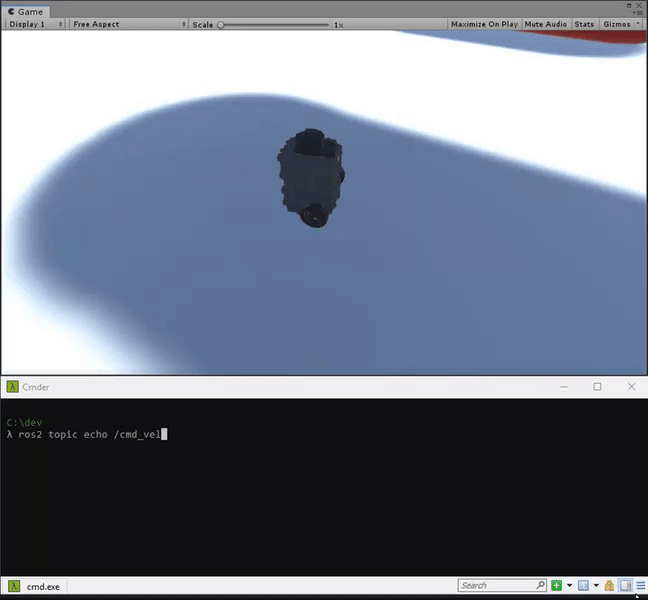
To teleop the turtlebot3 with your keyboard (wasd or arrows), navigate to Inspector window then click Add Component. Find Unity Input Teleop and select it. Then navigate to Game window and press navigation buttons.

If everything is fine TurtleBot3 must move.
Running navigation2 for turtlebot3
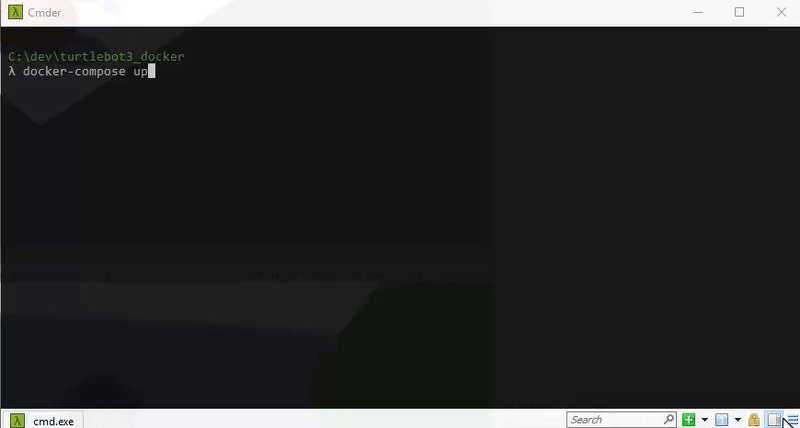
The easiest way (in my opinion…) to test the navigation2 stack with turtlebot3 and unity_ros2 is to use our precompiled docker image from DockerHub. Navigate to ~/UnityRos2/docker/turtlebot3_navigation folder and run docker-compose up command to start docker building. The first time it’s will take about an hour
Navigation2 stack starting automatically. You should eventually see something like this in the terminal window.
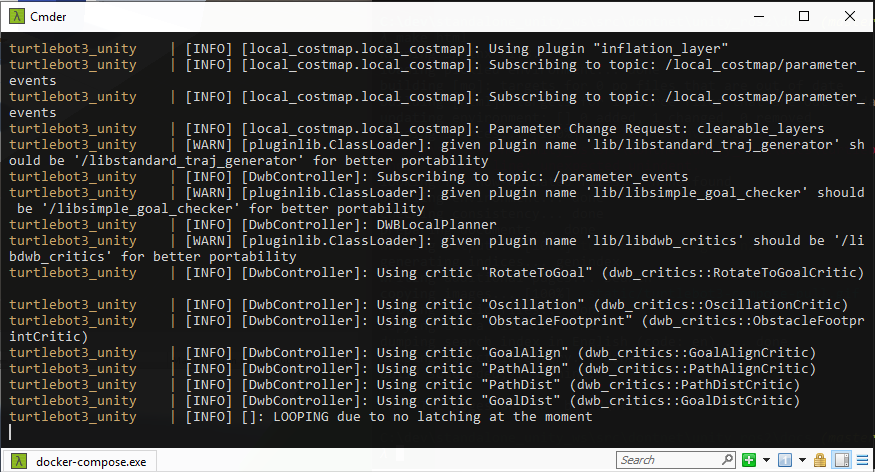
For next time to launch the container use docker-compose up --build command.
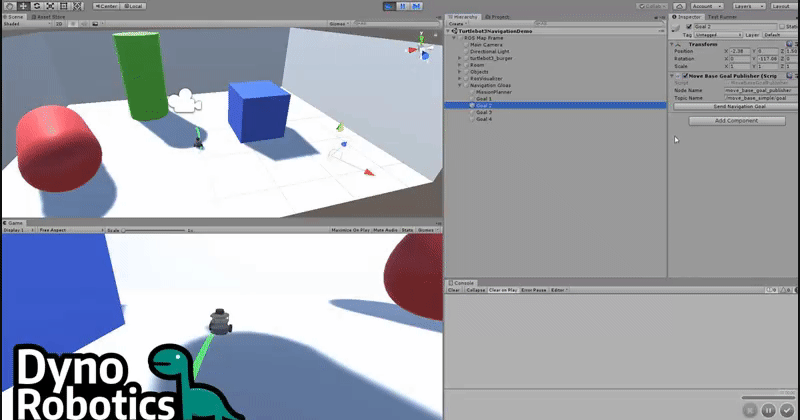
Sending navigation goals from Unity
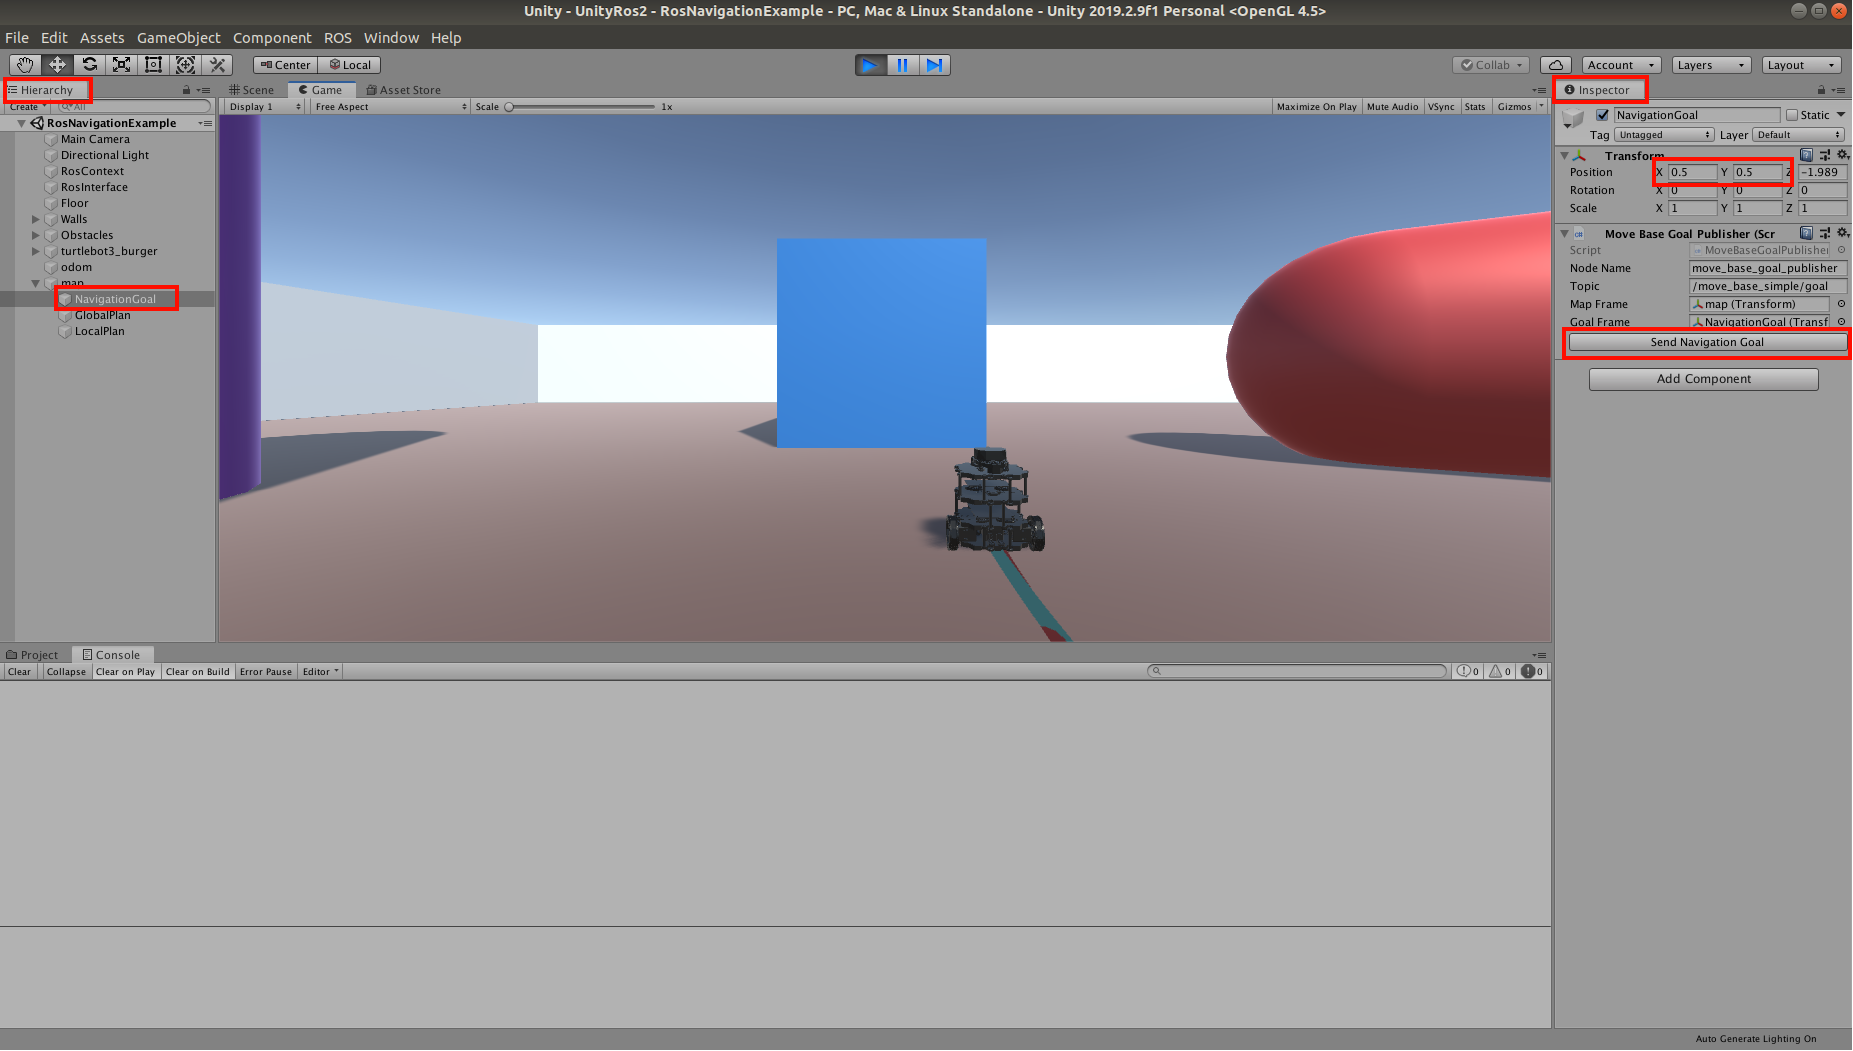
For send navigation2 goal position navigate to Inspector window then click Add Component. Find Move Base Goal Publisher and select it.
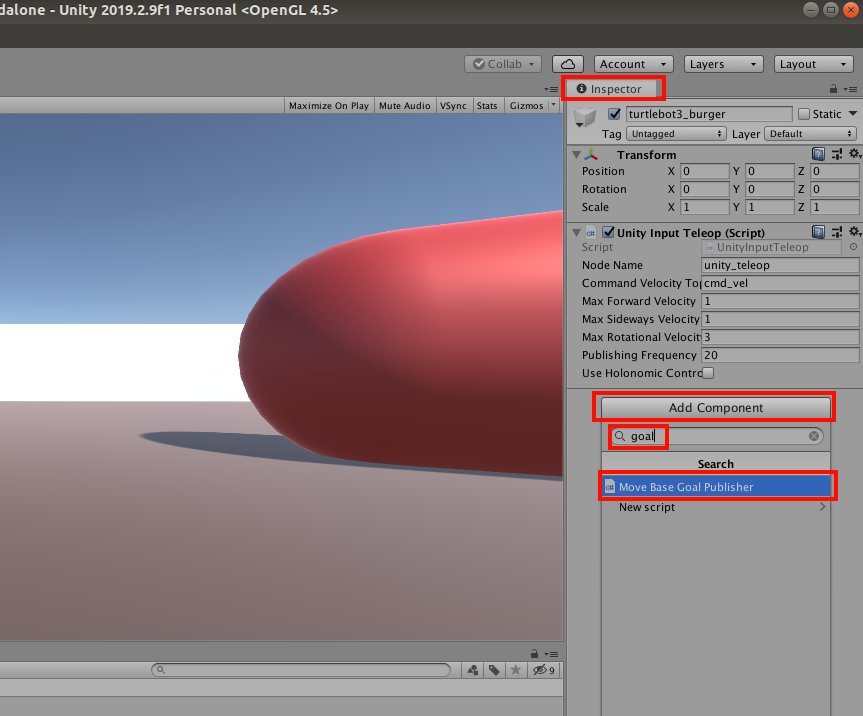
Now that everything is up and running, we should be able to send some navigation goals to the robot. Start by selecting a NavigationGoal in the Hierarch window in Unity, then enter some goal position and press Send Navigation Goal in the Inspector window.
That’s all for this tutorial. Good luck and have fun!